How to install the Outlook add-in
The Signature 365 add-in for Outlook allows users to preview signatures, add signatures to emails so they appear directly below the email being composed, and select an alternative signature if additional signatures have been assigned to them.
The add-in can be deployed from the Microsoft 365 Admin Center to apply to users, groups or your entire organisation, or it can be installed from the "Get Add-ins" option in Microsoft 365 for individual users or testing purposes.
Deploying the add-in from the Microsoft 365 Admin center
Log on to the Microsoft 365 Admin Center as a Global Administrator.
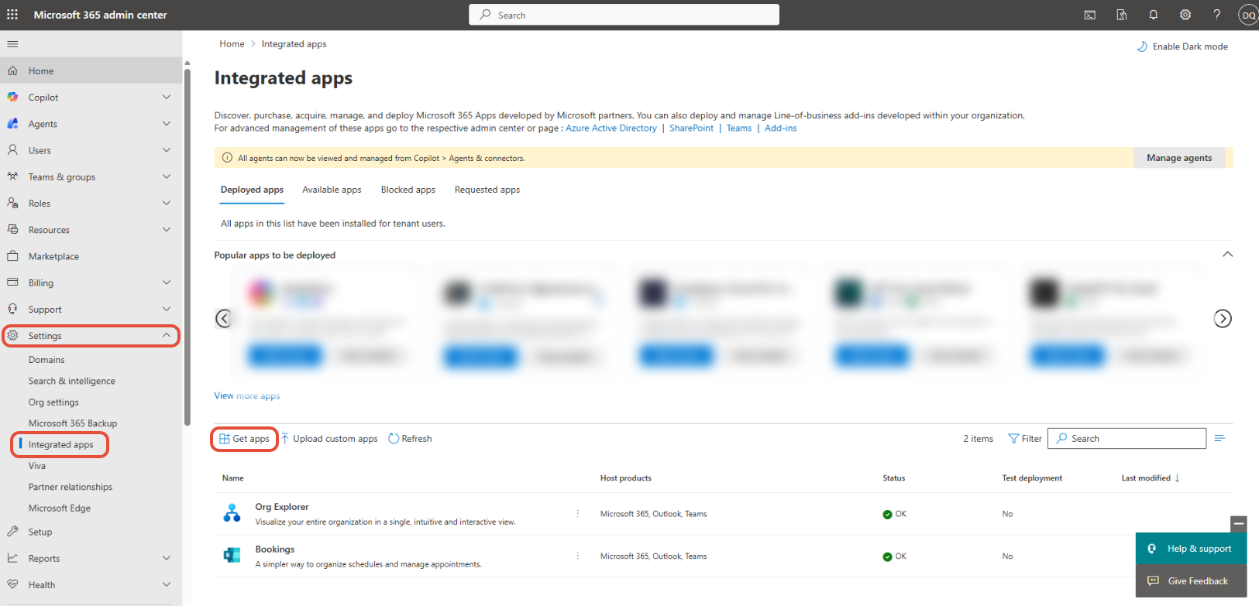
Go to Settings > Integrated apps to open the Integrated apps page. Click the Get apps link to search for an app.
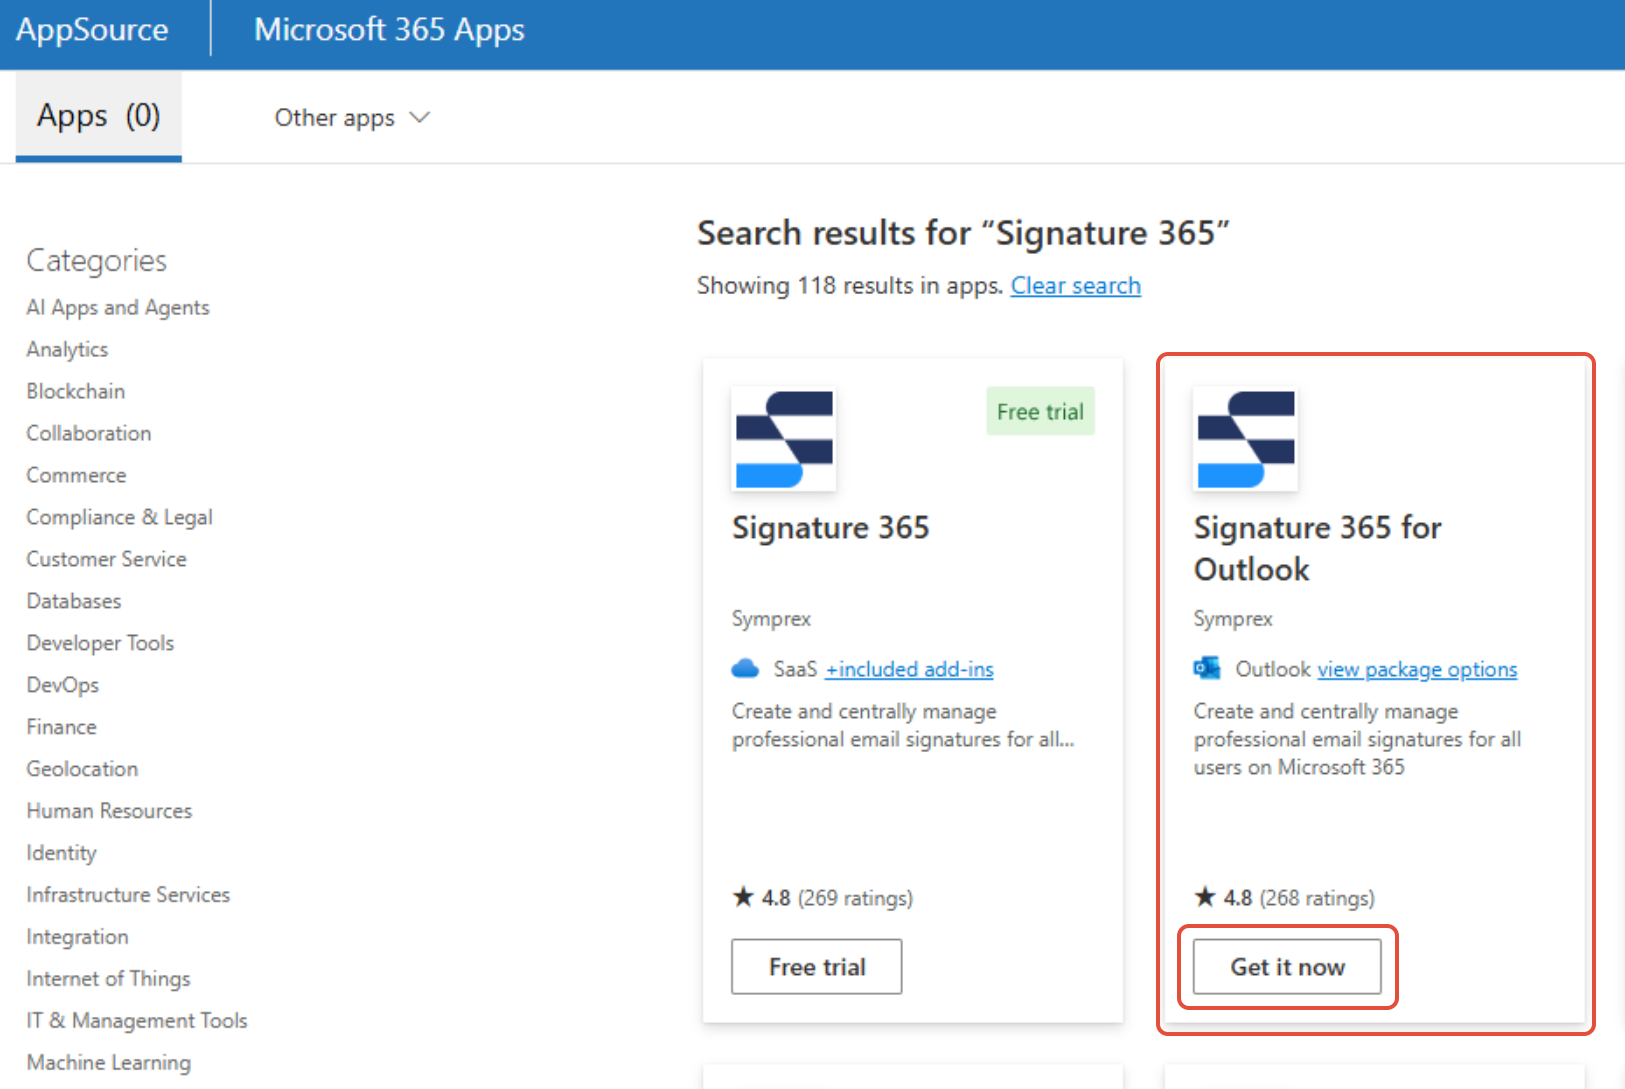
In the search bar, enter Signature 365, and select the Get it now option under Signature 365 for Outlook
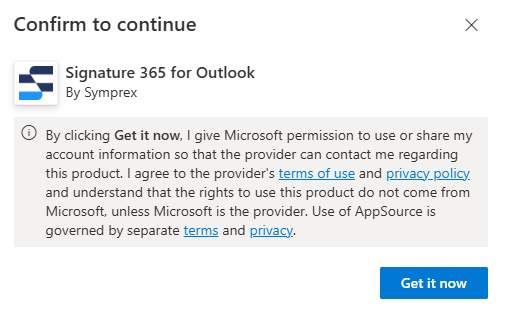
Click Get it now in the next screen and you will be asked to deploy the add-in.
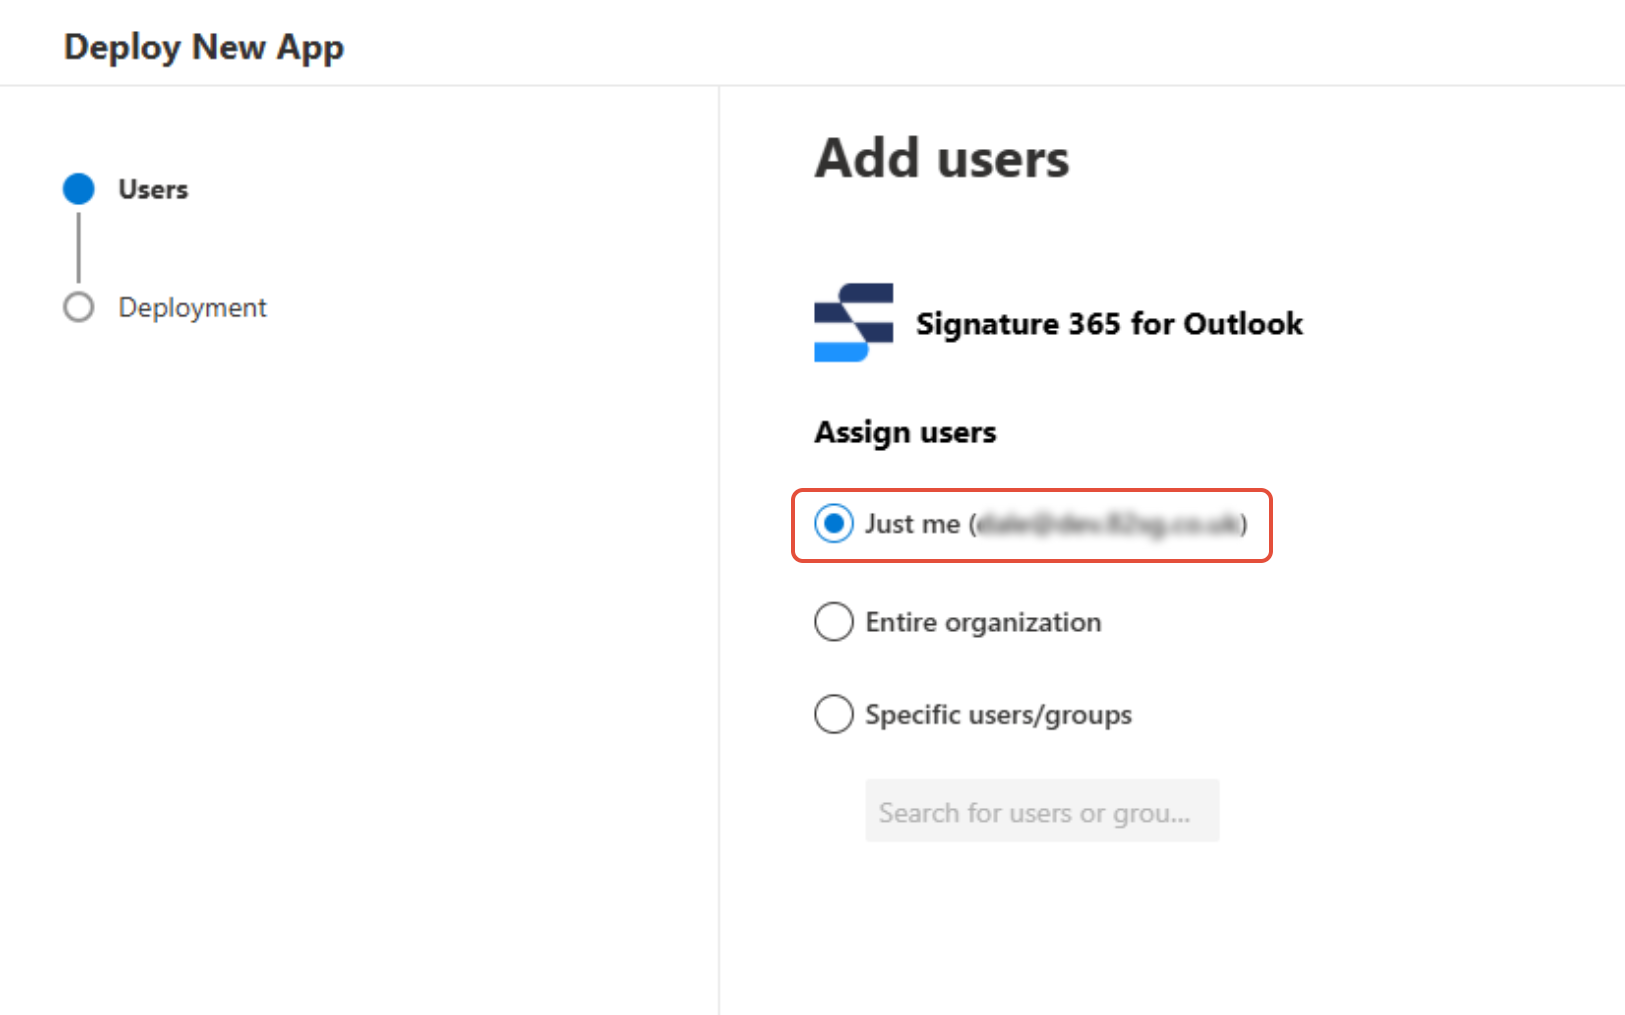
In the Deploy New App flyout, select the Just me option, and hit the Next button. You will be able to assign additional users to the app later in the process.
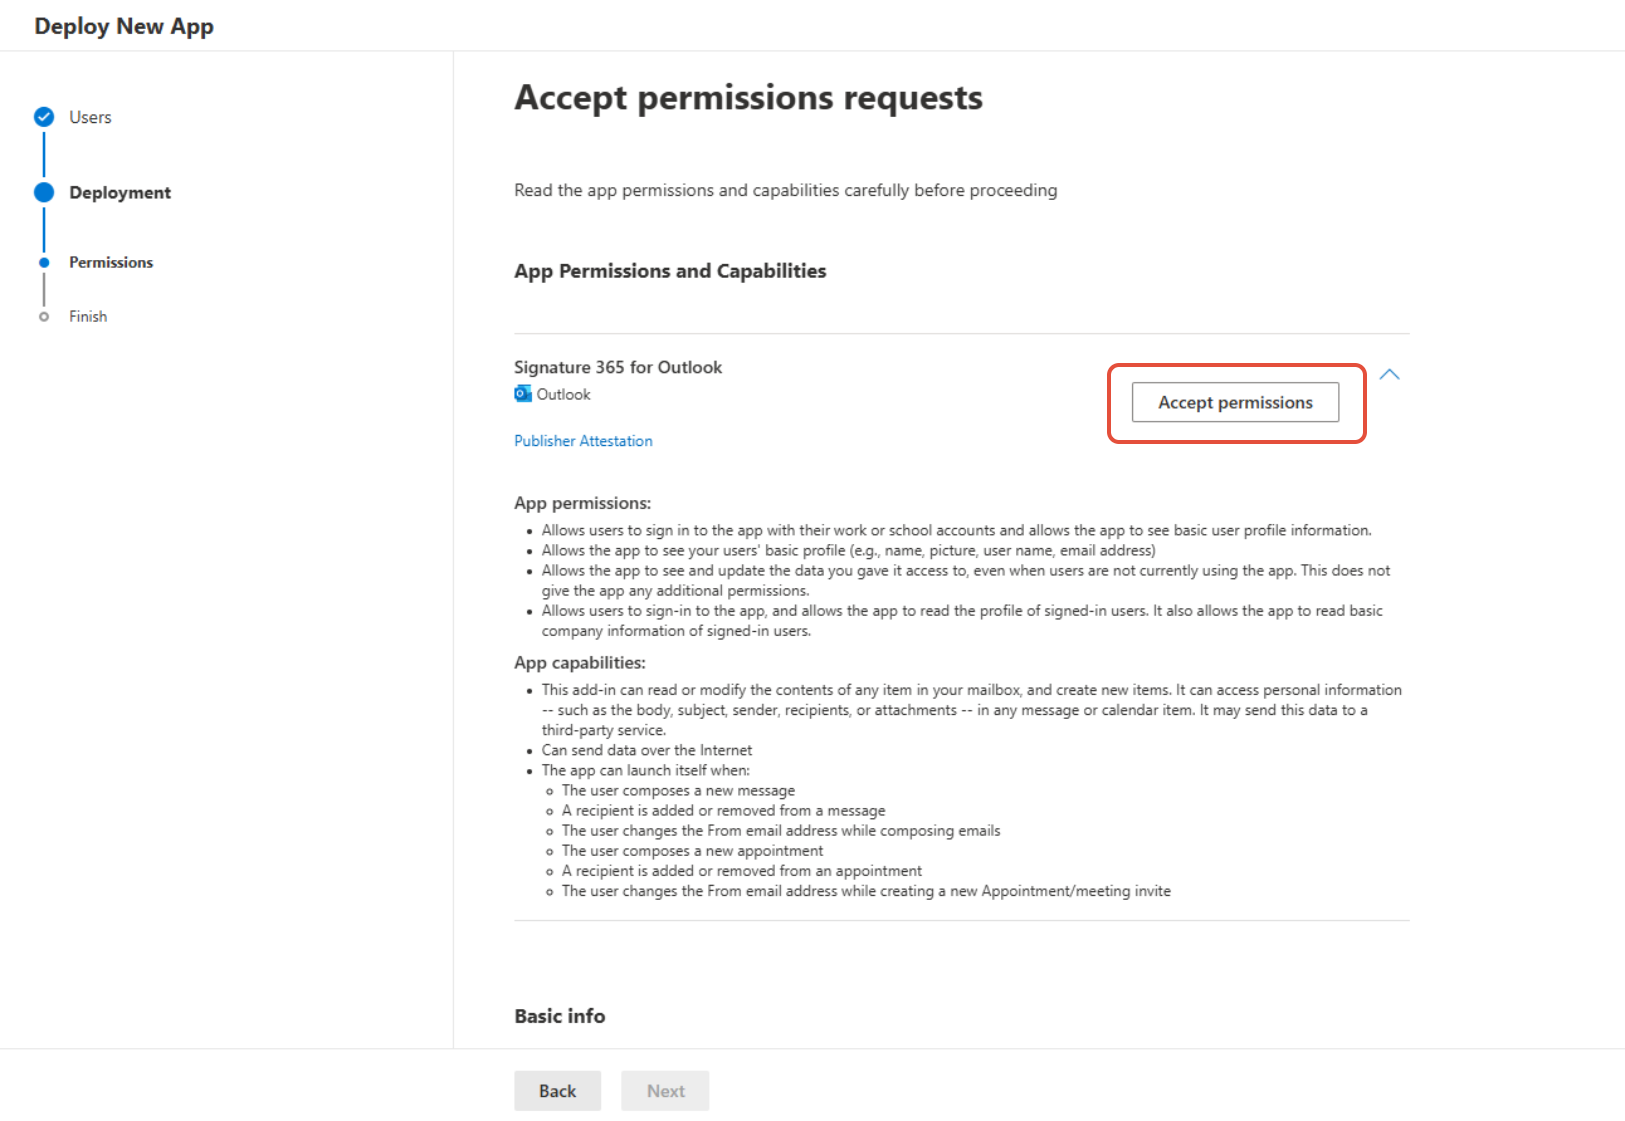
You will be asked to accept the required permissions for the add-in. Click the Accept permissions button.
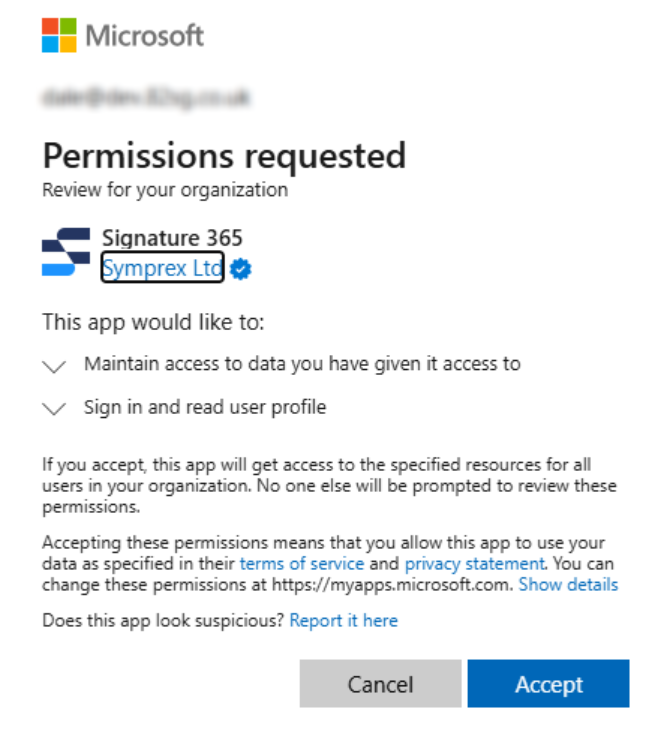
This will open a new window prompting you to sign in and accept these permissions. Review the required permissions and click the Accept button.
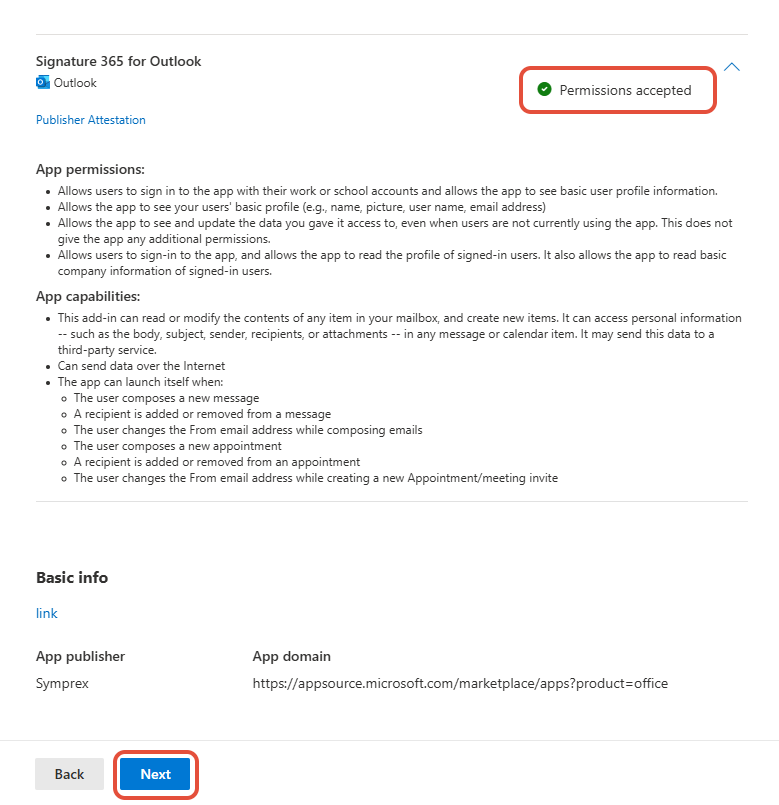
The Permissions accepted text will update on the page, click the Next button that is now active.
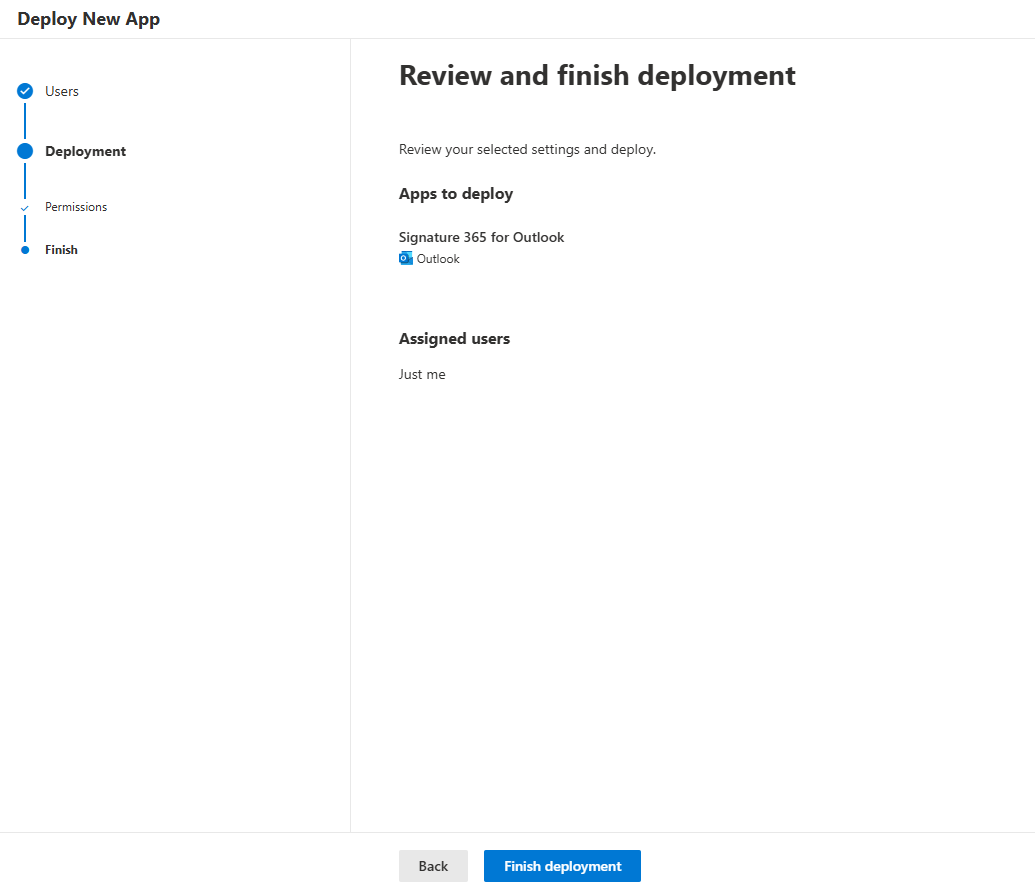
On the Review and finish deployment screen, click the Finish deployment button.
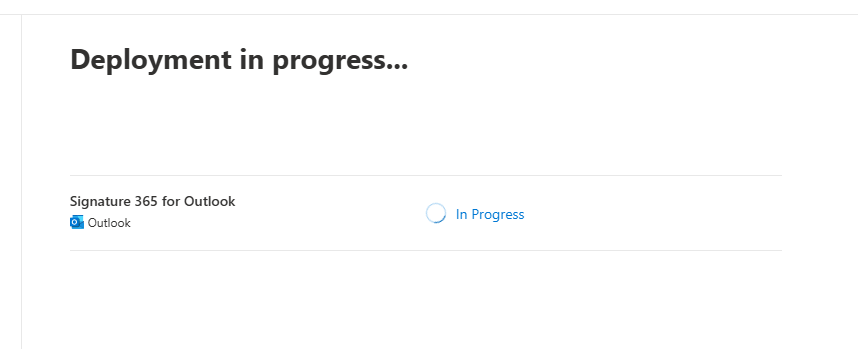
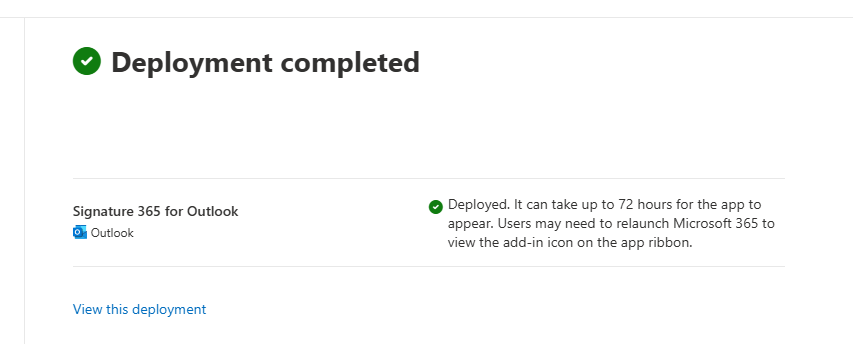
The Deployment in progress screen will show the progress, updating to Deployment completed when finished. Click the Done button to return to Integrated apps.
The Signature 365 add-in will now be visible and available to deploy to other users.
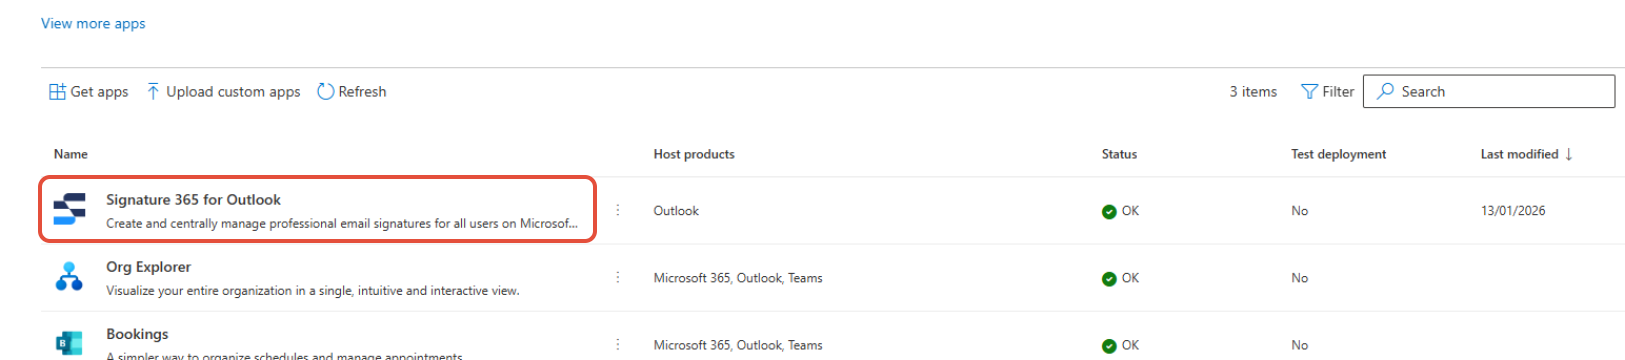
Click anywhere on the app name to open the status bar.
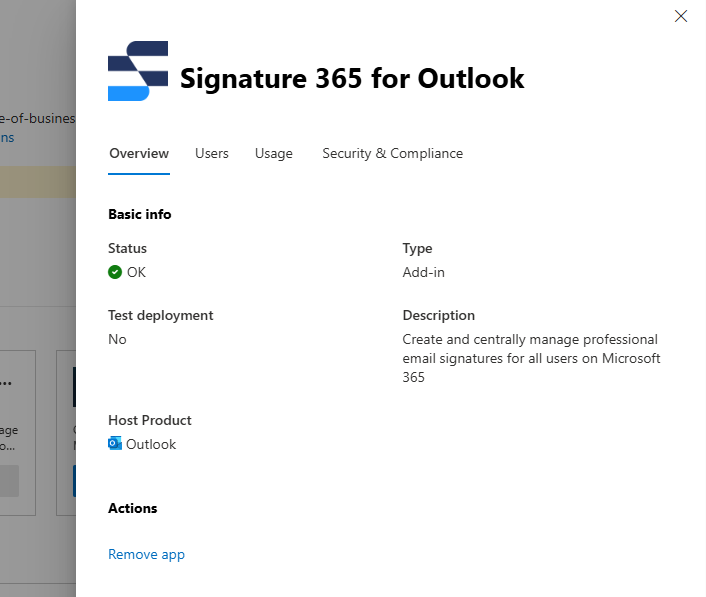
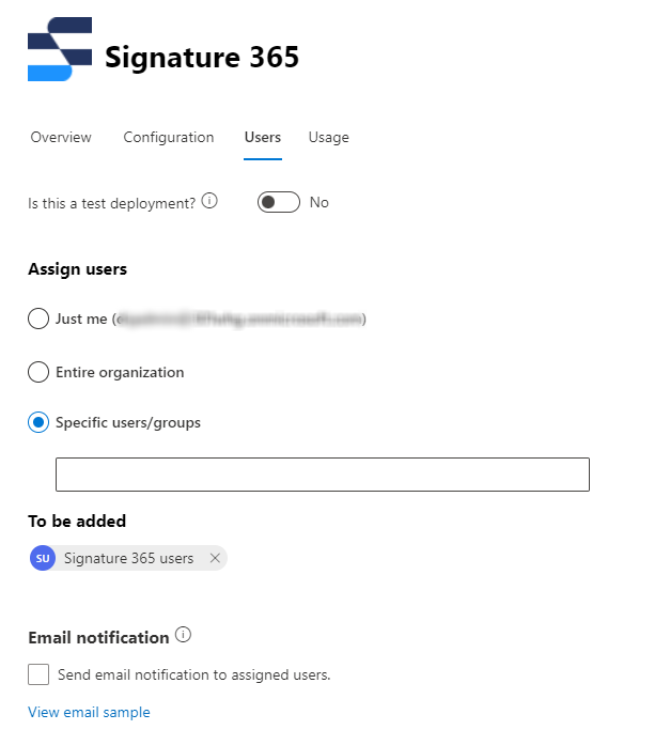
Select the Users tab, and select the users you wish to deploy the add-in to, then click the Deploy button.
When you select the Specific users/groups option, Microsoft 365 will send users an email notification by default unless you disable this option.
Whilst it is possible to deploy to the entire organisation, we recommend creating a dynamic security group of users within Microsoft Entra, due to Microsoft not providing an option to exclude users from a deployment.
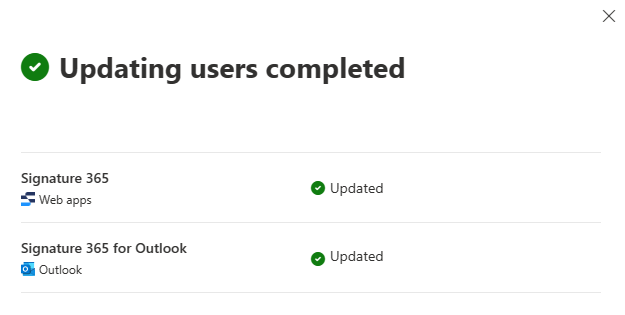
The following screen will be displayed, when both apps show as Completed, click Done.
The add-in may not be available to all users immediately. The deployment usually only takes a few minutes but can take up to 72 hours according to Microsoft. For some users the add-in may not be available until Outlook has been restarted.
Click Done to close the add-in pane.
The Outlook add-in now will deploy to your selected users.
Installing from Classic Outlook
Open a browser and navigate to https://outlook.signature365.com/manifest.xml
Use your browser to save the webpage to your machine - in the Chrome or Edge menu -> More Tools -> Save page as...
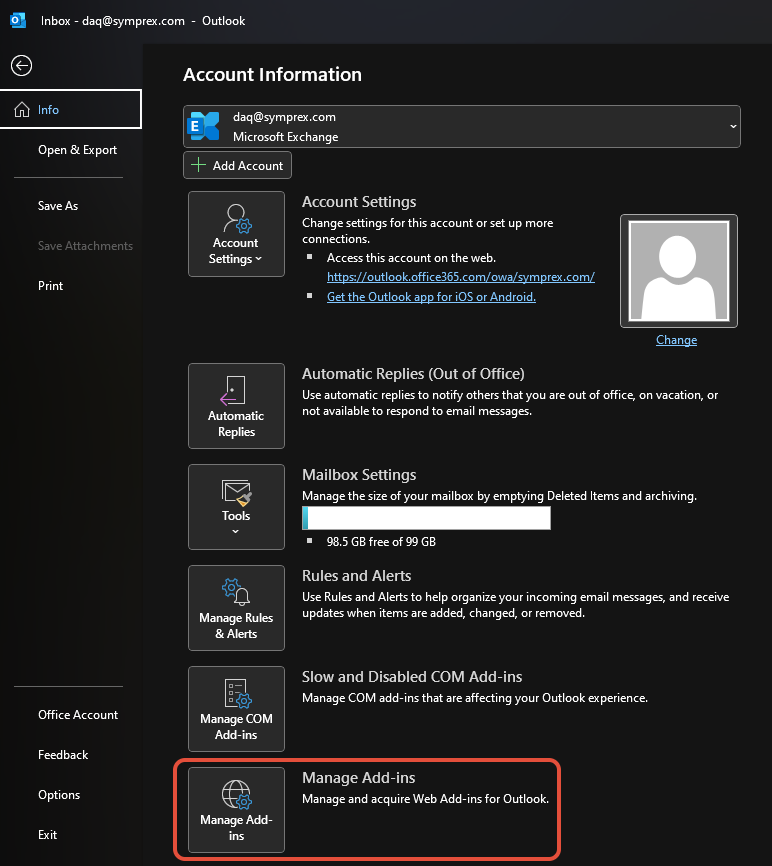
Select File from the menu within Outlook, and select the Manage Add-ins item.
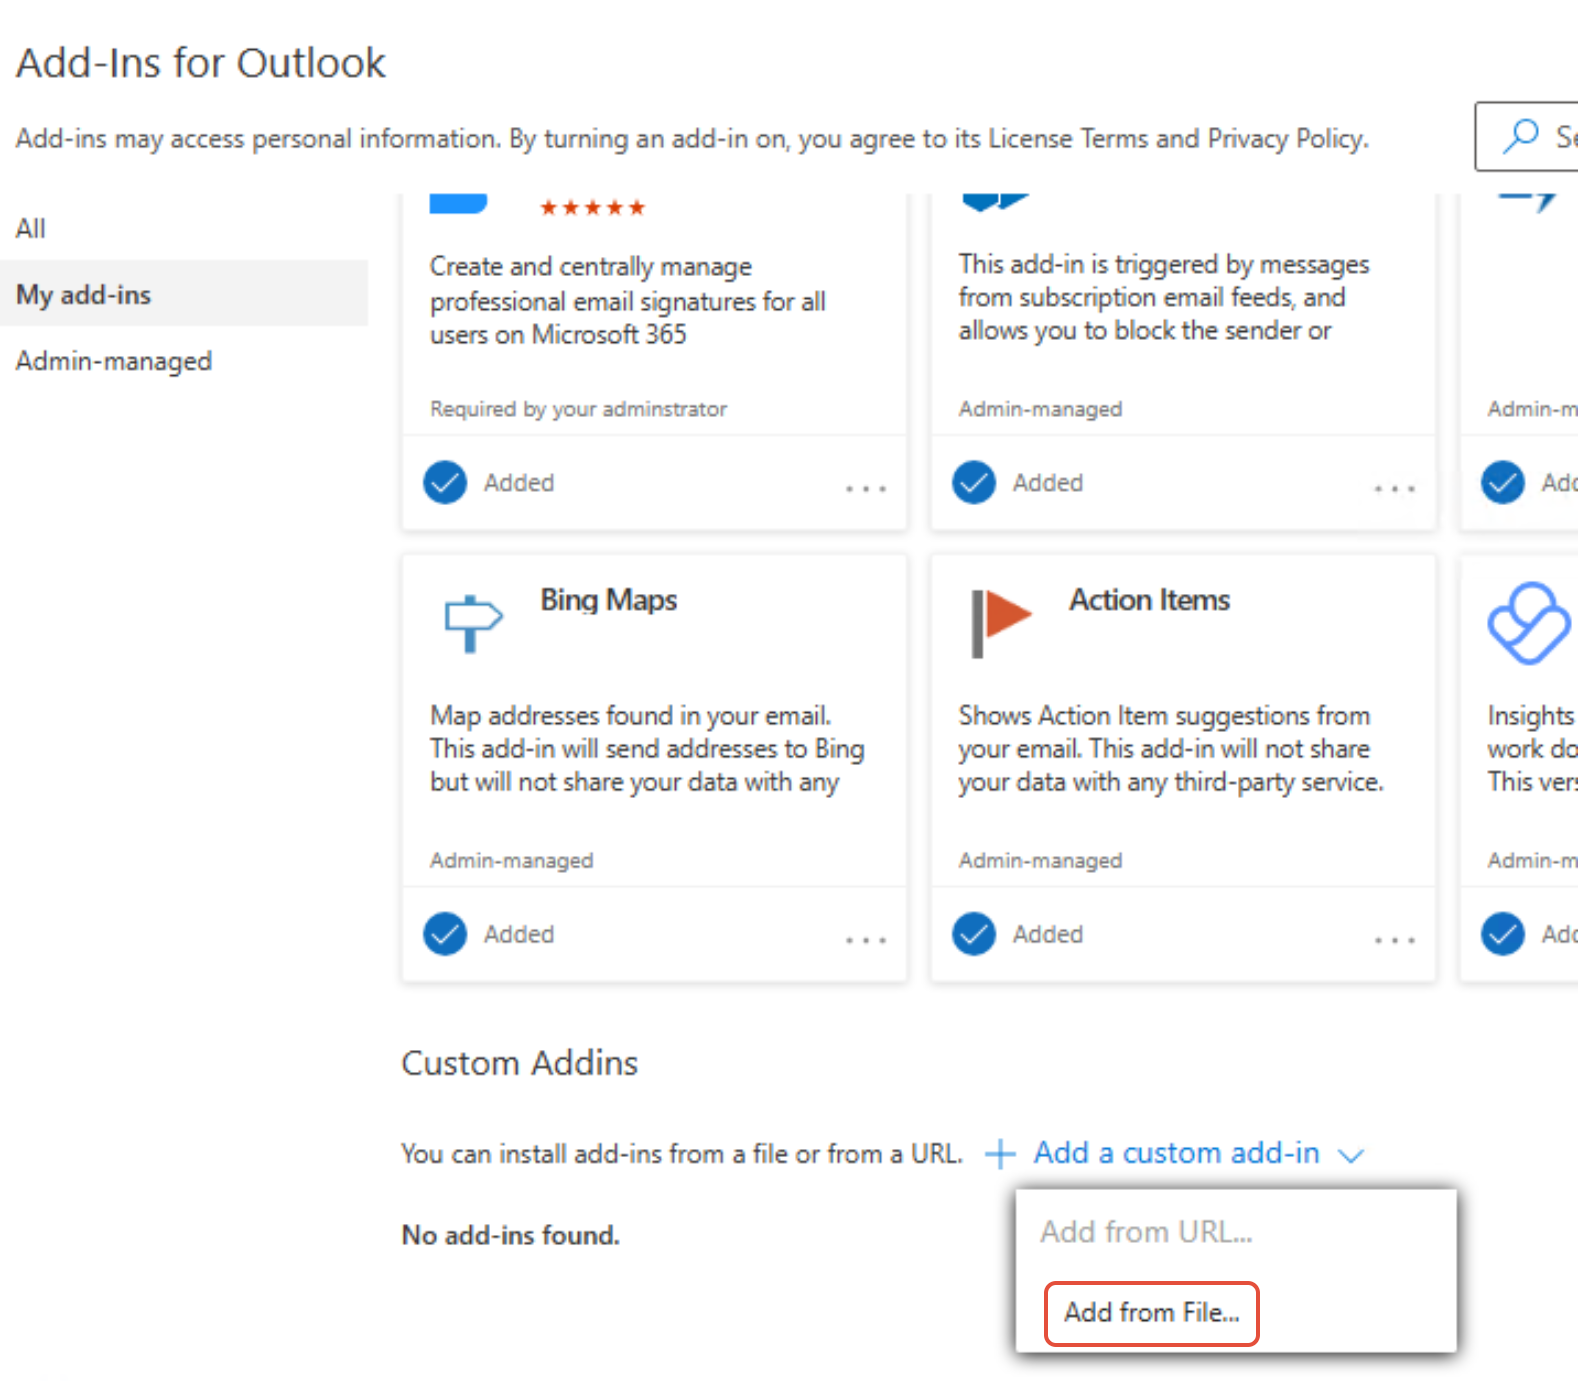
This will open OWA in your default web browser. In the Add-ins for Outlook window that opens, select My add-ins, and scroll down until you see the Custom Addins section.
Click + Add a custom add-in and in the dropdown that appears select the Add from File... option. The Add from URL... option has been removed by Microsoft.
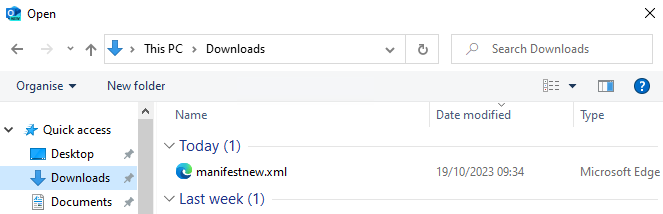
In the window that opens, select the manifest.xml file you previously saved.
Review the warning and select Install.

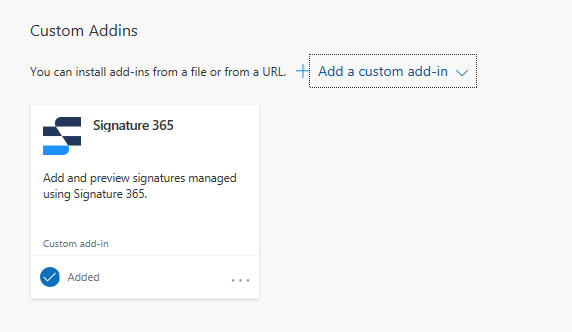
The Signature 365 add-in will appear in the Custom Addins section, and will now be available when composing a new message.
Installing from the Get Add-ins window in New Outlook or OWA
Open a browser and navigate to https://outlook.signature365.com/manifest.xml
Use your browser to save the webpage to your machine - in the Chrome or Edge menu -> More Tools -> Save page as...
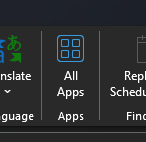
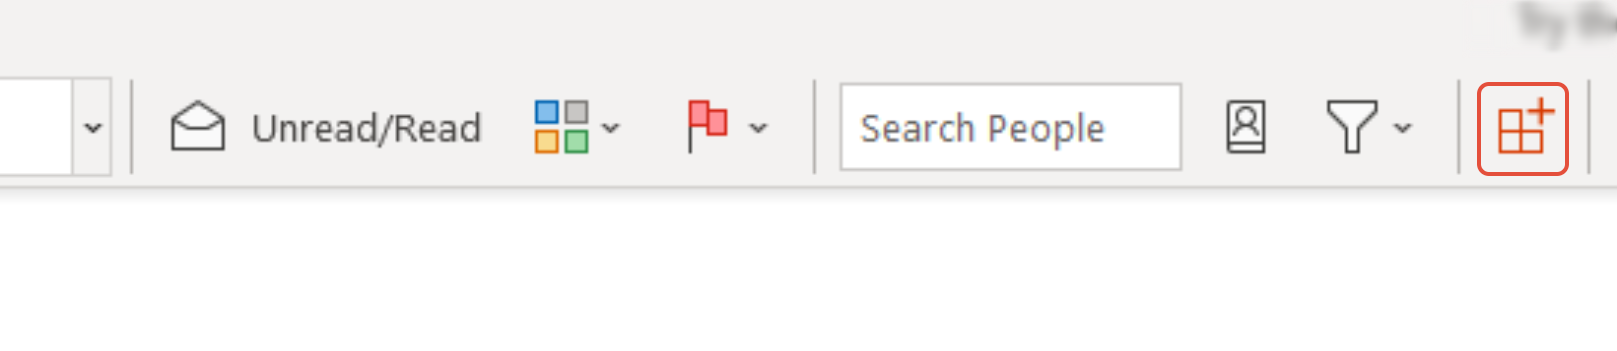
In the Outlook menu ribbon, click the Get Add-ins button.
In some cases, the Get Add-ins button may be unavailable. If you see this issue, navigate to aka.ms/olksideload
In the Add-ins window that opens, select My add-ins, and scroll down until you see the Custom Addins section.
Click + Add a custom add-in and in the dropdown that appears select the Add from File... option. The Add from URL... option has been removed by Microsoft.
In the window that opens, select the manifest.xml file you previously saved.
Review the warning and select Install.
The Signature 365 add-in will appear in the Custom Addins section, and will now be available when composing a new message.
How to enable debug log in Outlook add-in
Enable or disable Outlook add-in debug logging in Windows by creating the required Office registry keys.
How to install the Outlook (Classic) agent
Install the Signature 365 Classic Agent for Outlook 2016 to 2024 using MSI or ClickOnce, including system requirements and limitations.